


his guide explains how to order a Virtual Private Server (VPS) through the Kubho client portal.
Step 1: Browse Available VPS Plans
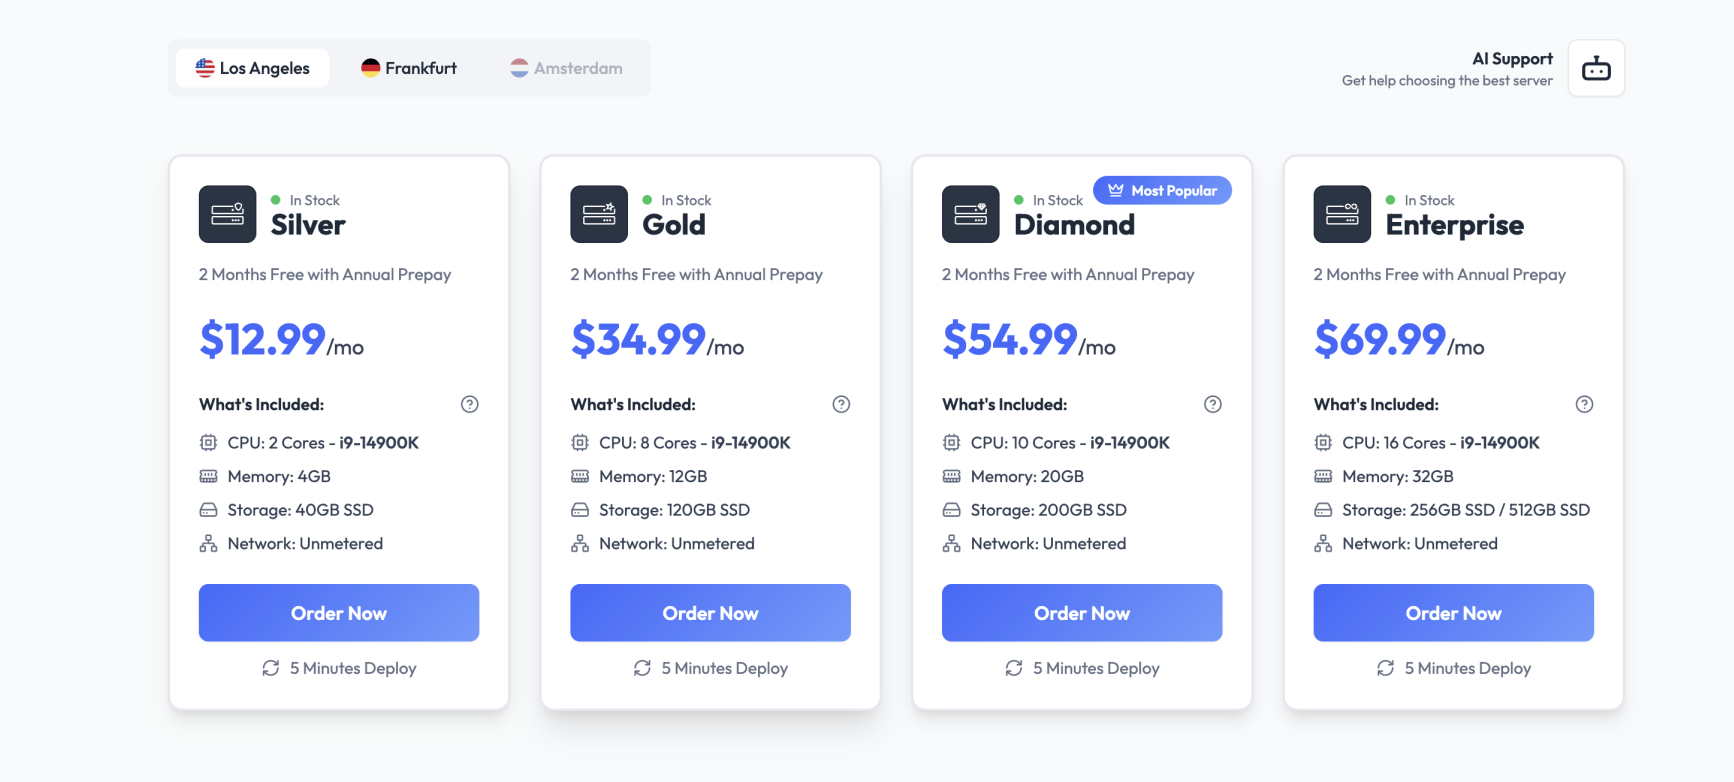
Visit the VPS hosting section on our website and select the plan that best fits your requirements.
Consider the following when choosing a plan:
- CPU performance
- RAM allocation
- Storage capacity
- Network bandwidth
- Operating system requirements
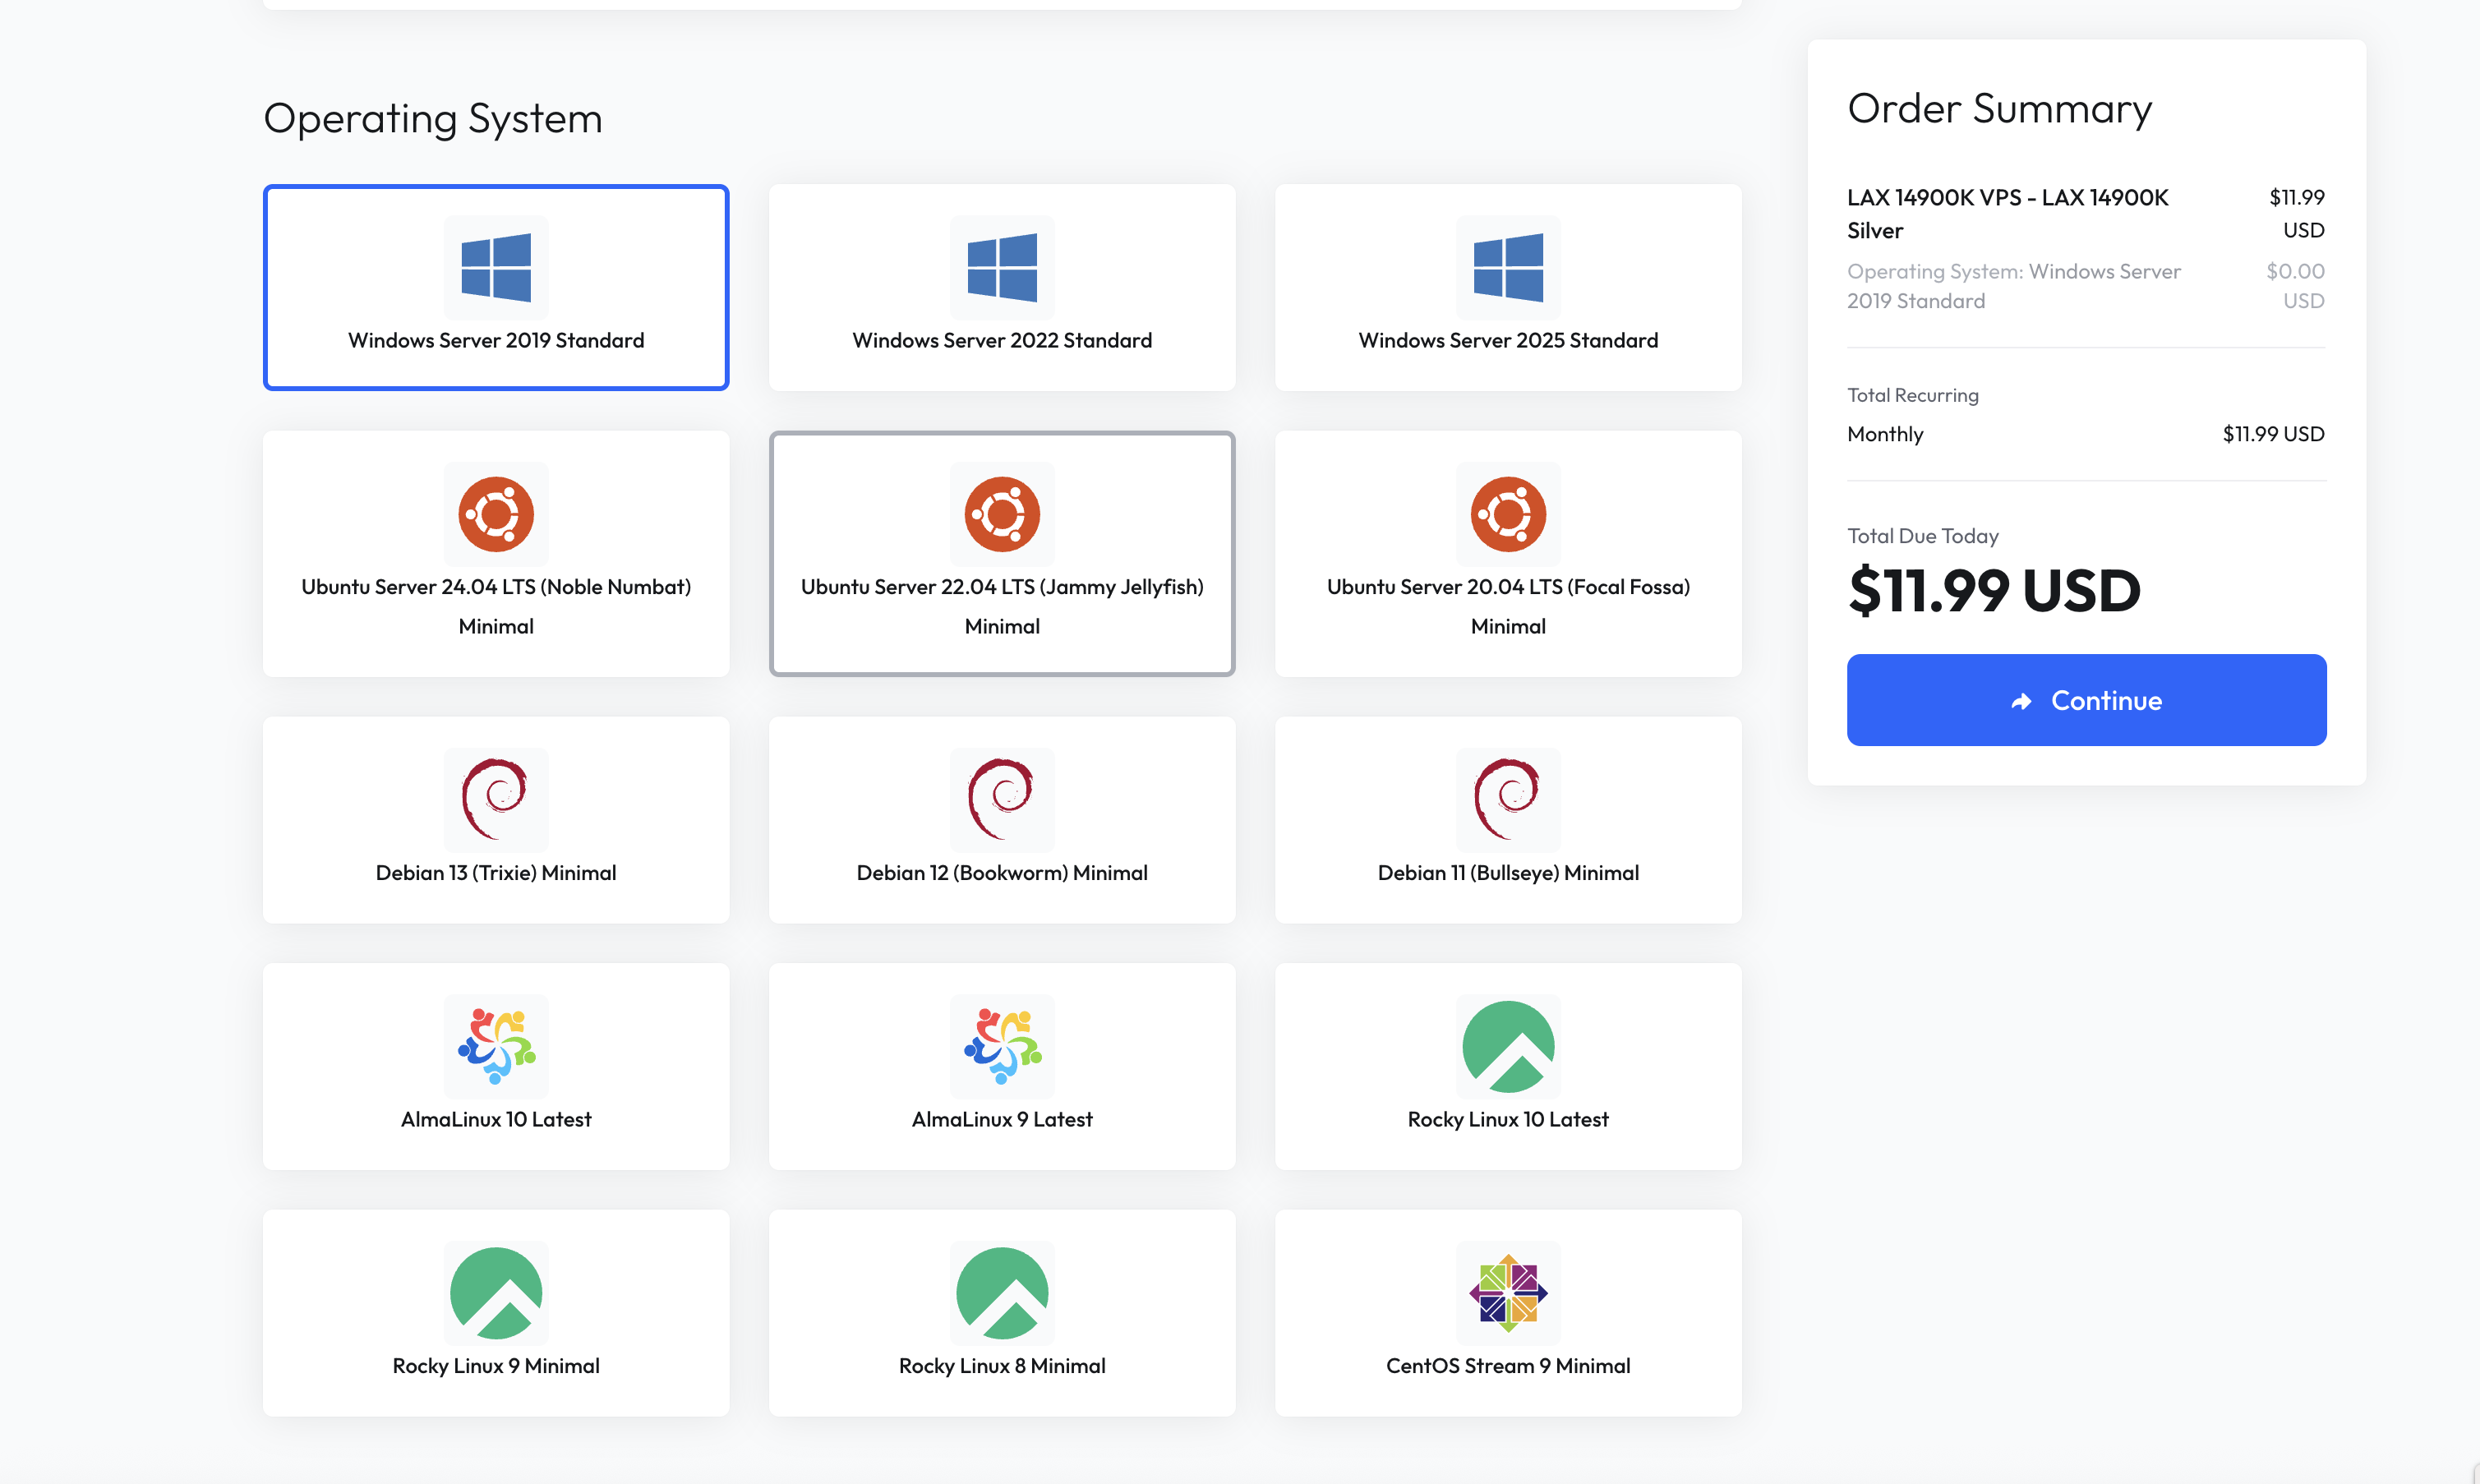
Step 2: Configure Your VPS
After selecting a plan, you will be asked to configure your server.
Available options may include:
- Operating System
- Server Location
- Additional IP Addresses
- Backup Options
- Billing Cycle
Step 3: Complete Checkout
Review your configuration and proceed to checkout.
Enter your billing details and complete payment using one of the available payment methods.

Step 4: Automatic Provisioning
Once payment is confirmed, your VPS will be automatically provisioned through our platform.
Provisioning usually takes only less than a minute.
Step 5: Access Your VPS
After deployment, login credentials and server details will become available in the client portal.
You will receive:
- Server IP Address
- Username (For Windows, use "Administrator")
- Password
- Management Panel Access
Need Help?
If your VPS has not been provisioned within a reasonable time after payment, please open a support ticket through the client portal.
Our support team will be happy to assist.


