


This guide explains how to access your VPS after it has been successfully deployed.
Step 1: Log In to the Client Portal
Sign in to the Kubho client portal using your account credentials.
Once logged in, navigate to Services and select your VPS service.
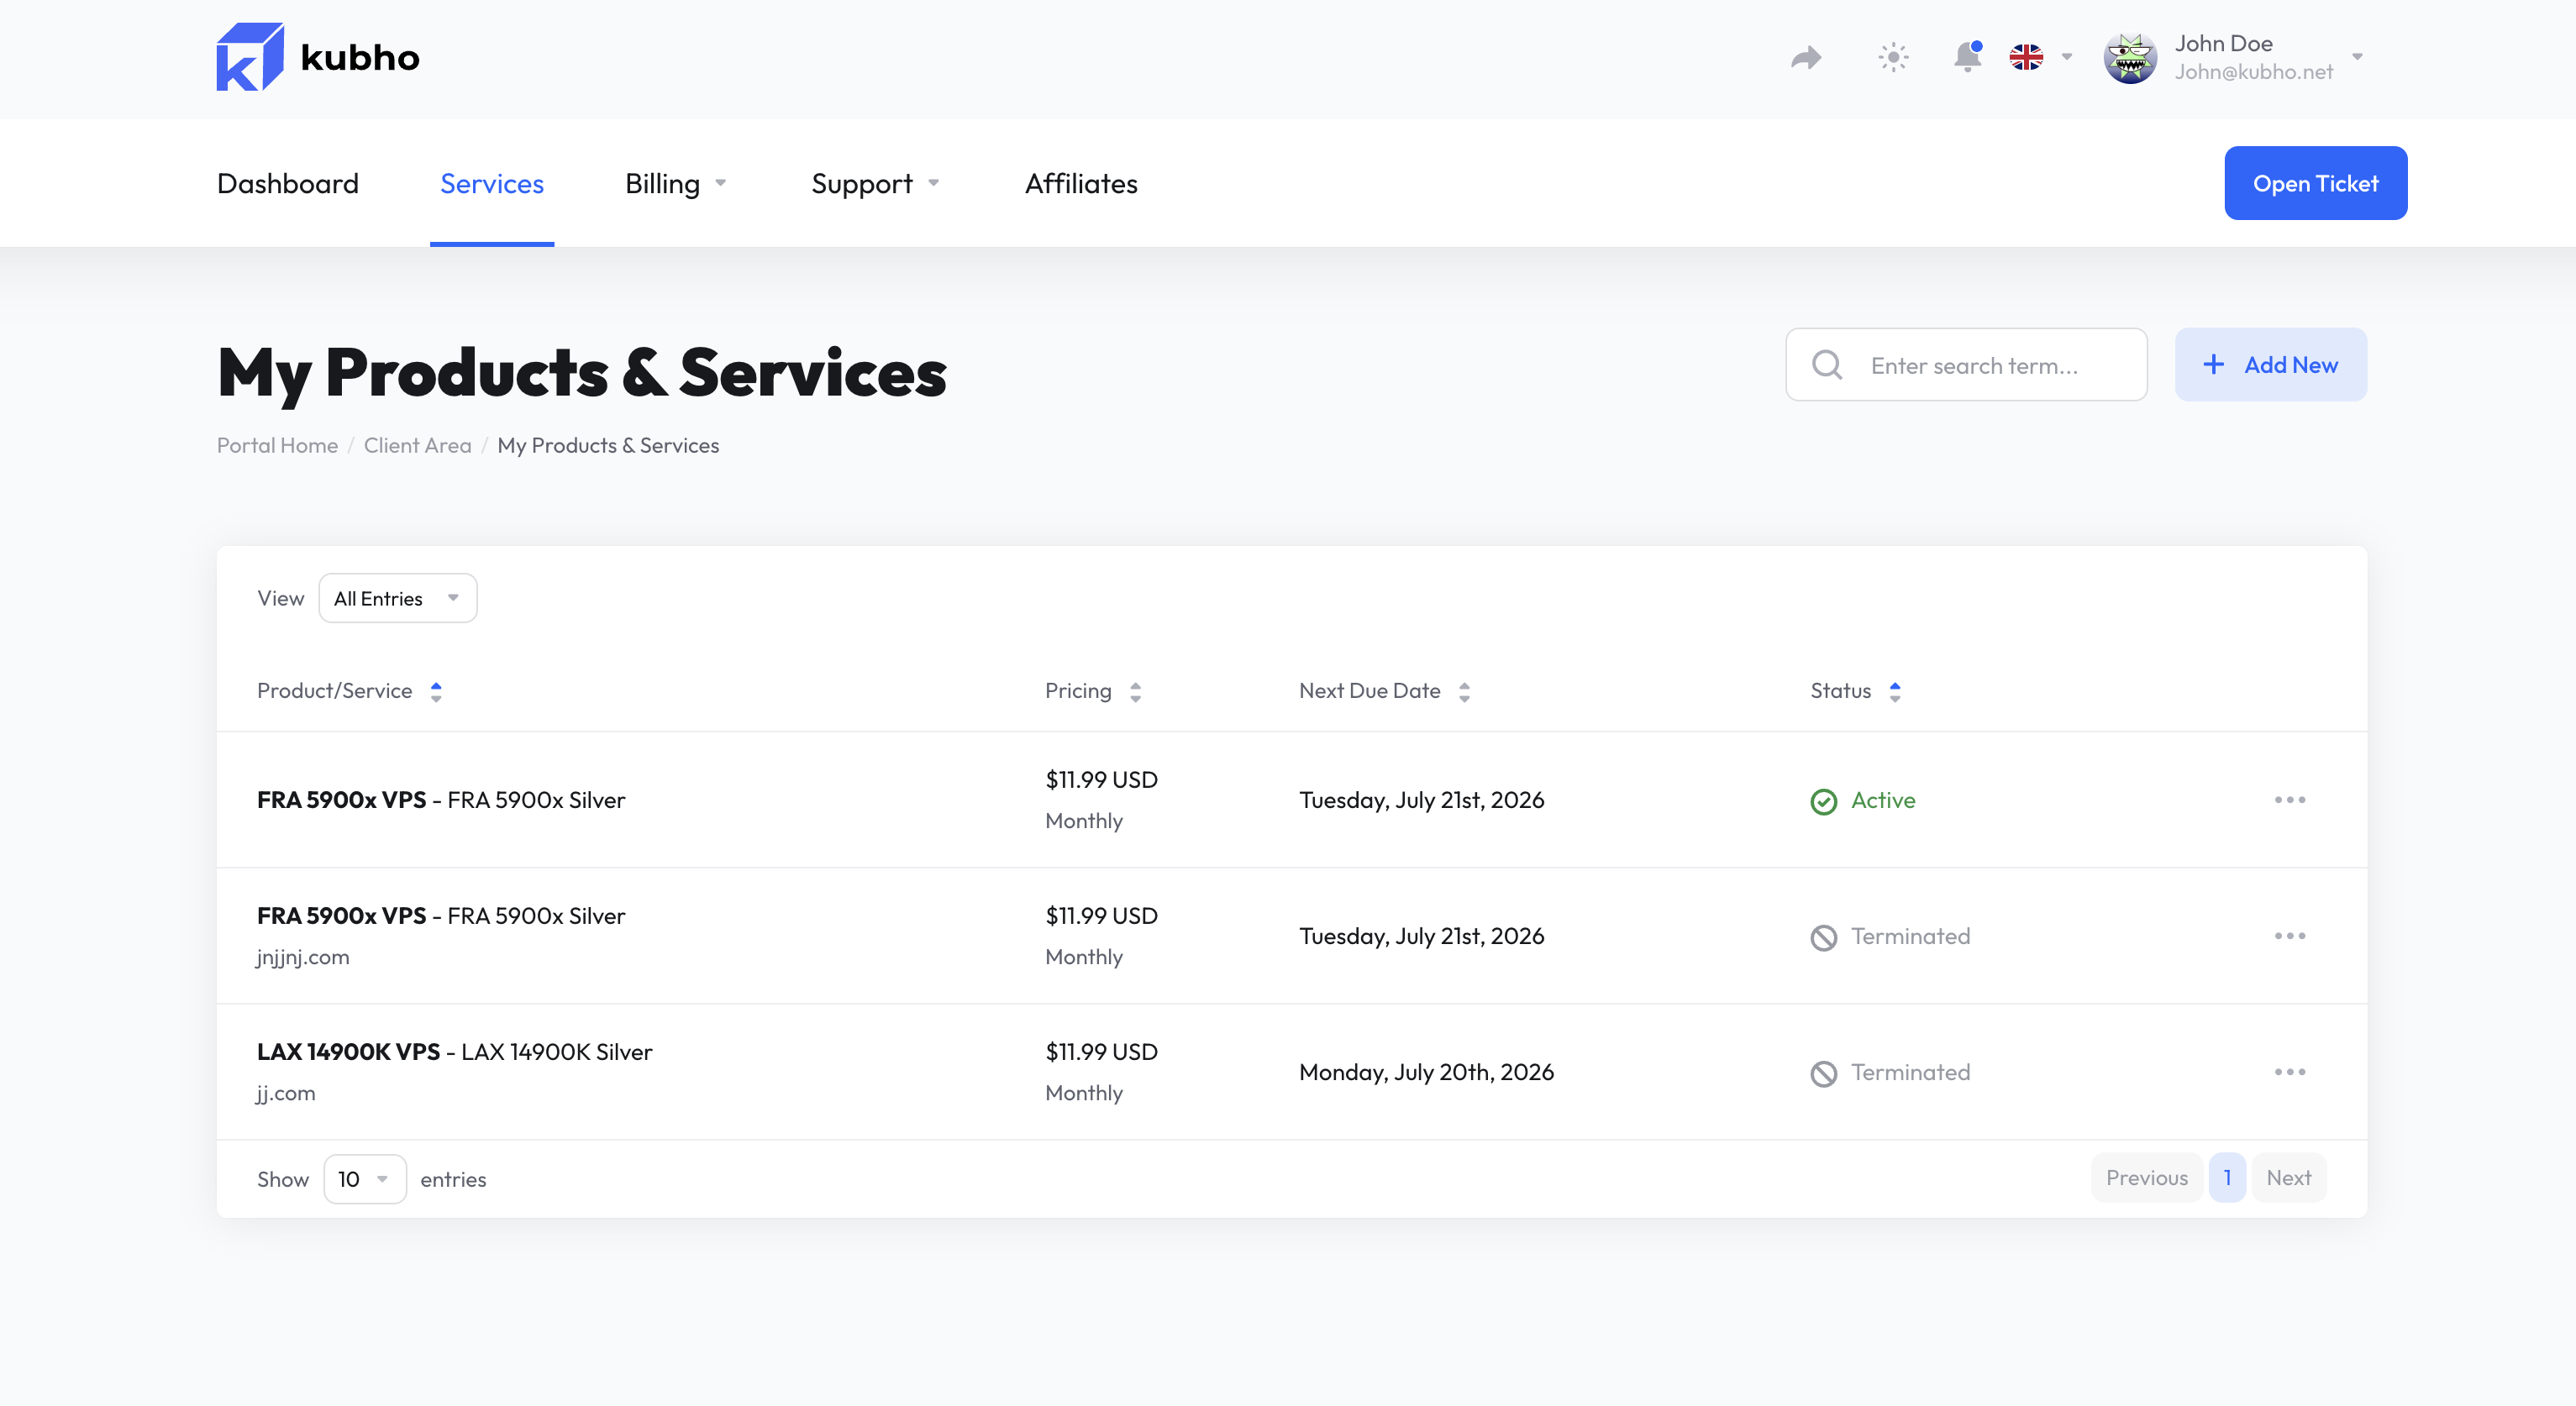
Step 2: View Your VPS Details
On the VPS management page, you will find important server information, including:
* For security reasons, please change the generated password the first time you log into your server.
- IP Address
- Hostname
- Operating System
- Username
- Password
Make sure to keep these details secure.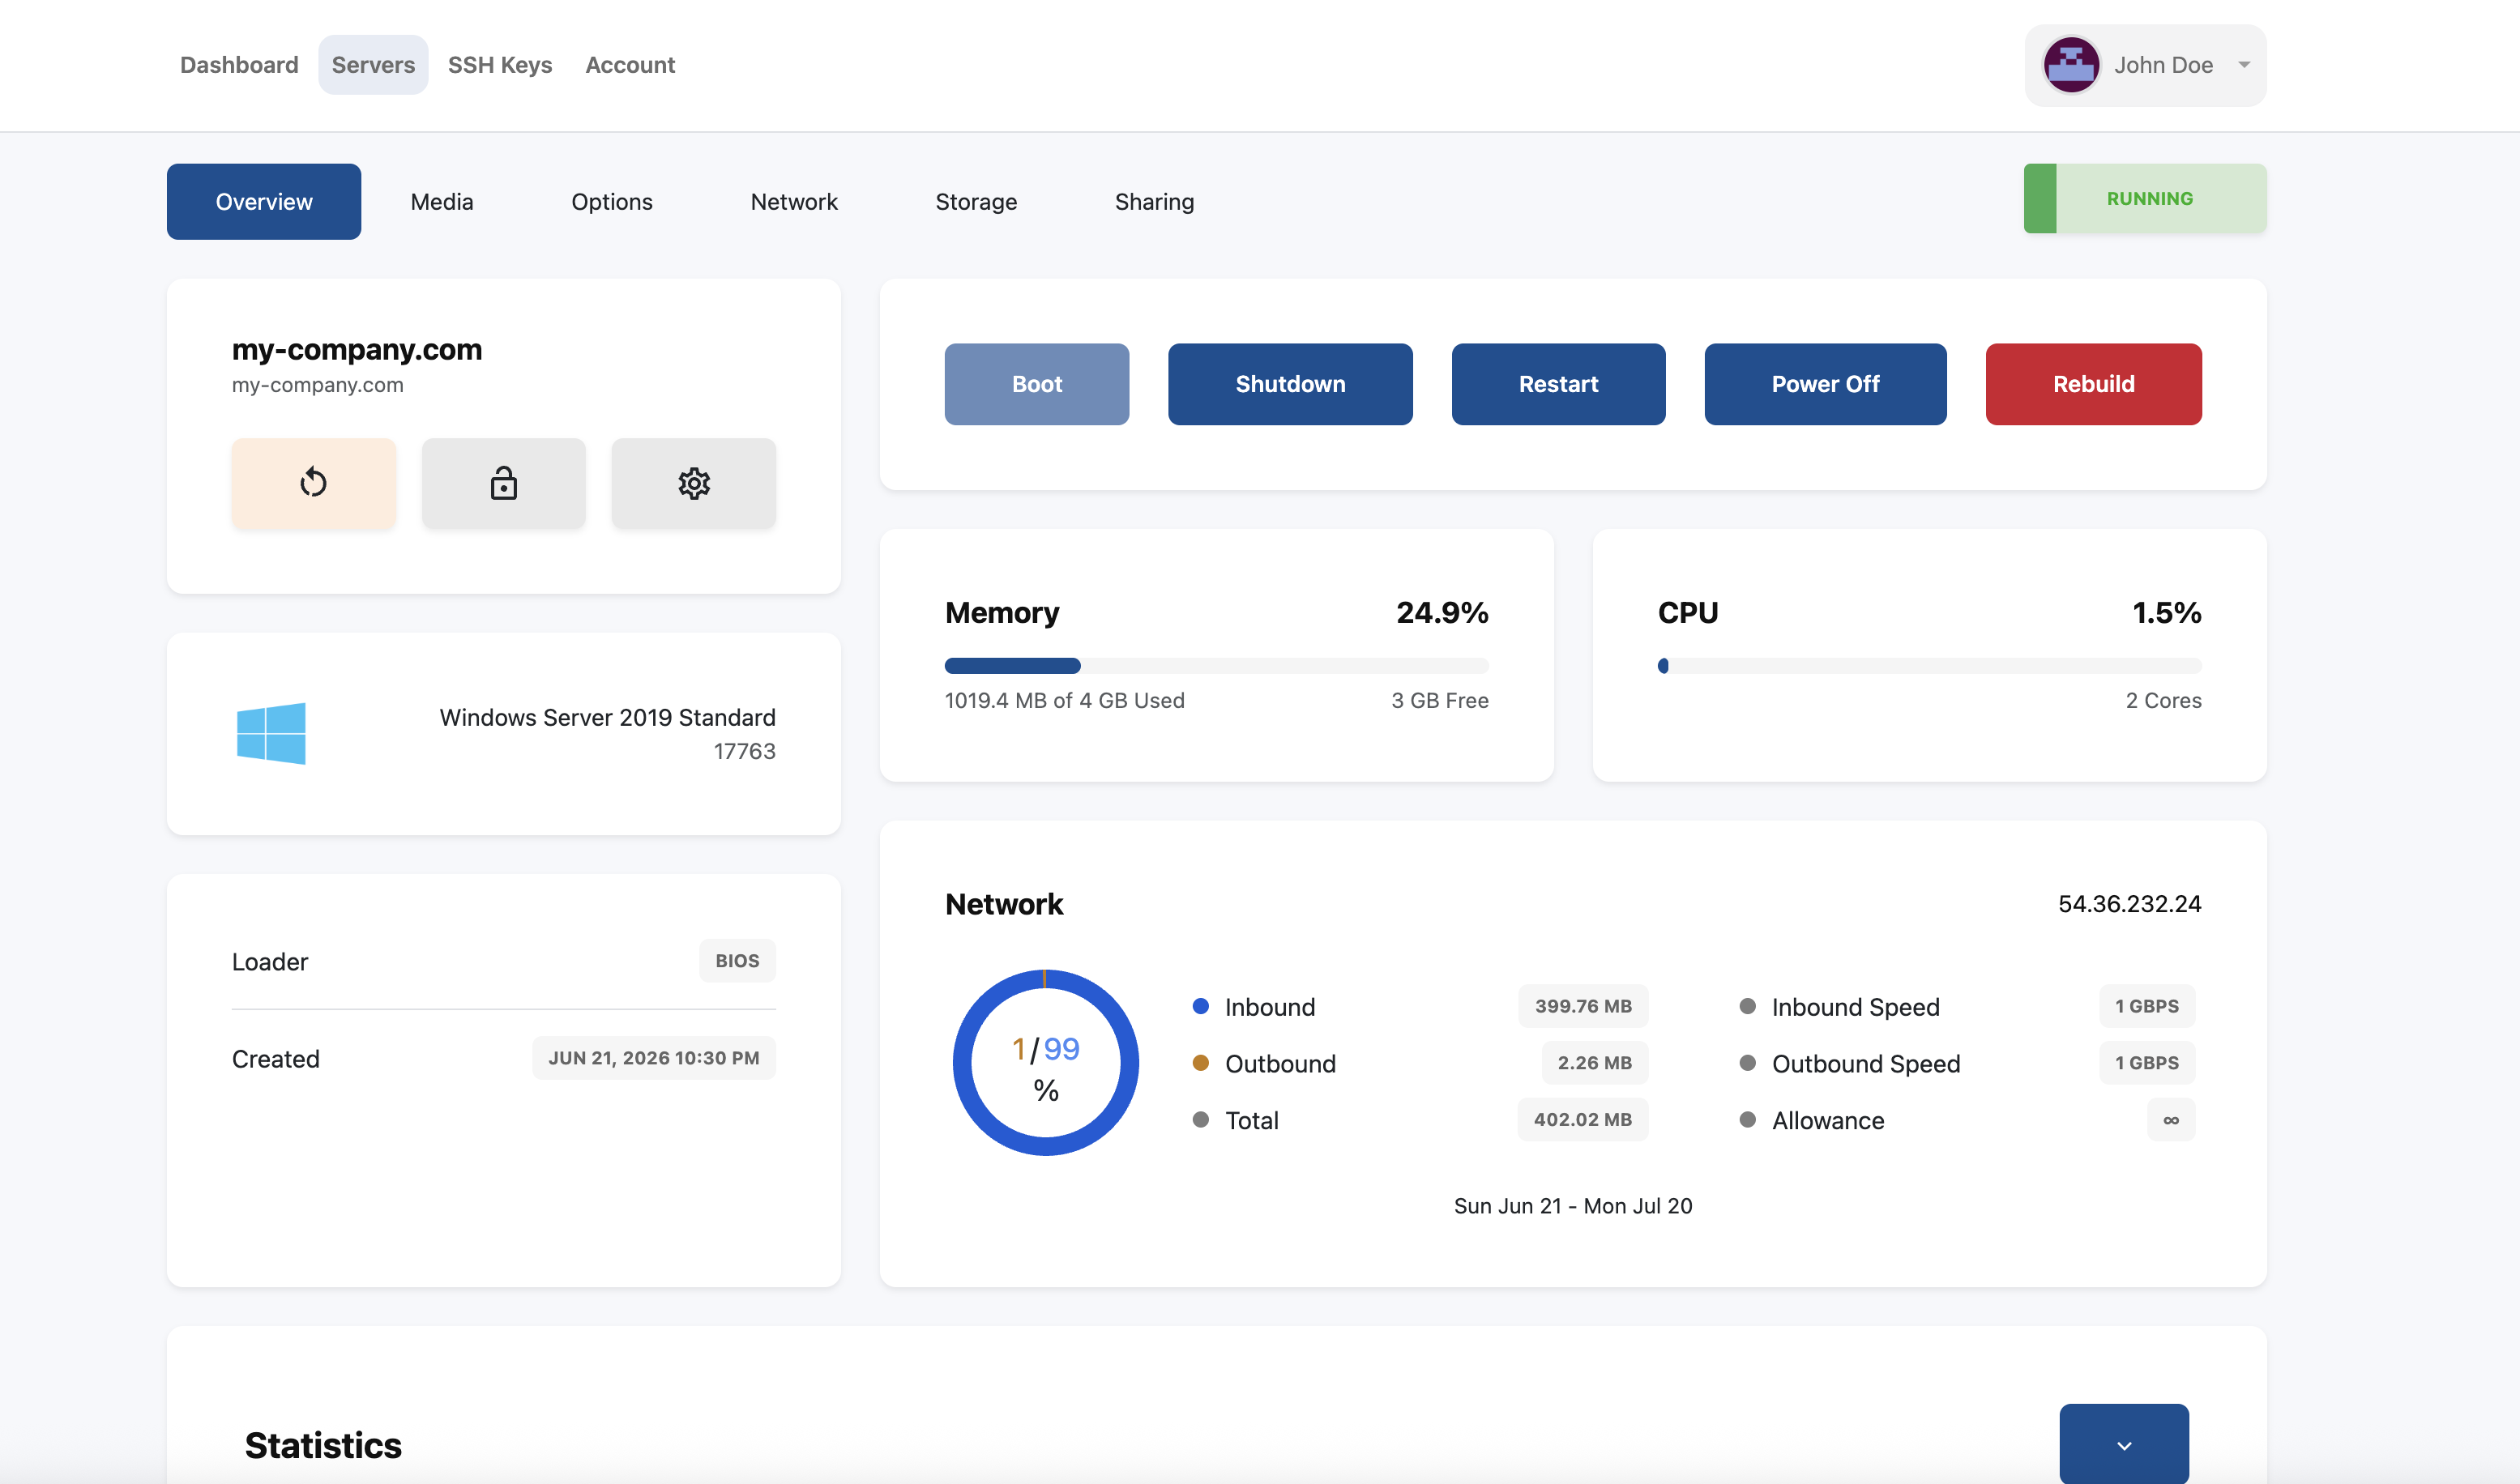
Step 3: Determine Your Operating System
The connection method depends on the operating system installed on your VPS.
Windows VPS
Windows servers are accessed using Remote Desktop Protocol (RDP).
Linux VPS
Linux servers are typically accessed using SSH.
Step 4: Connect to Your Server
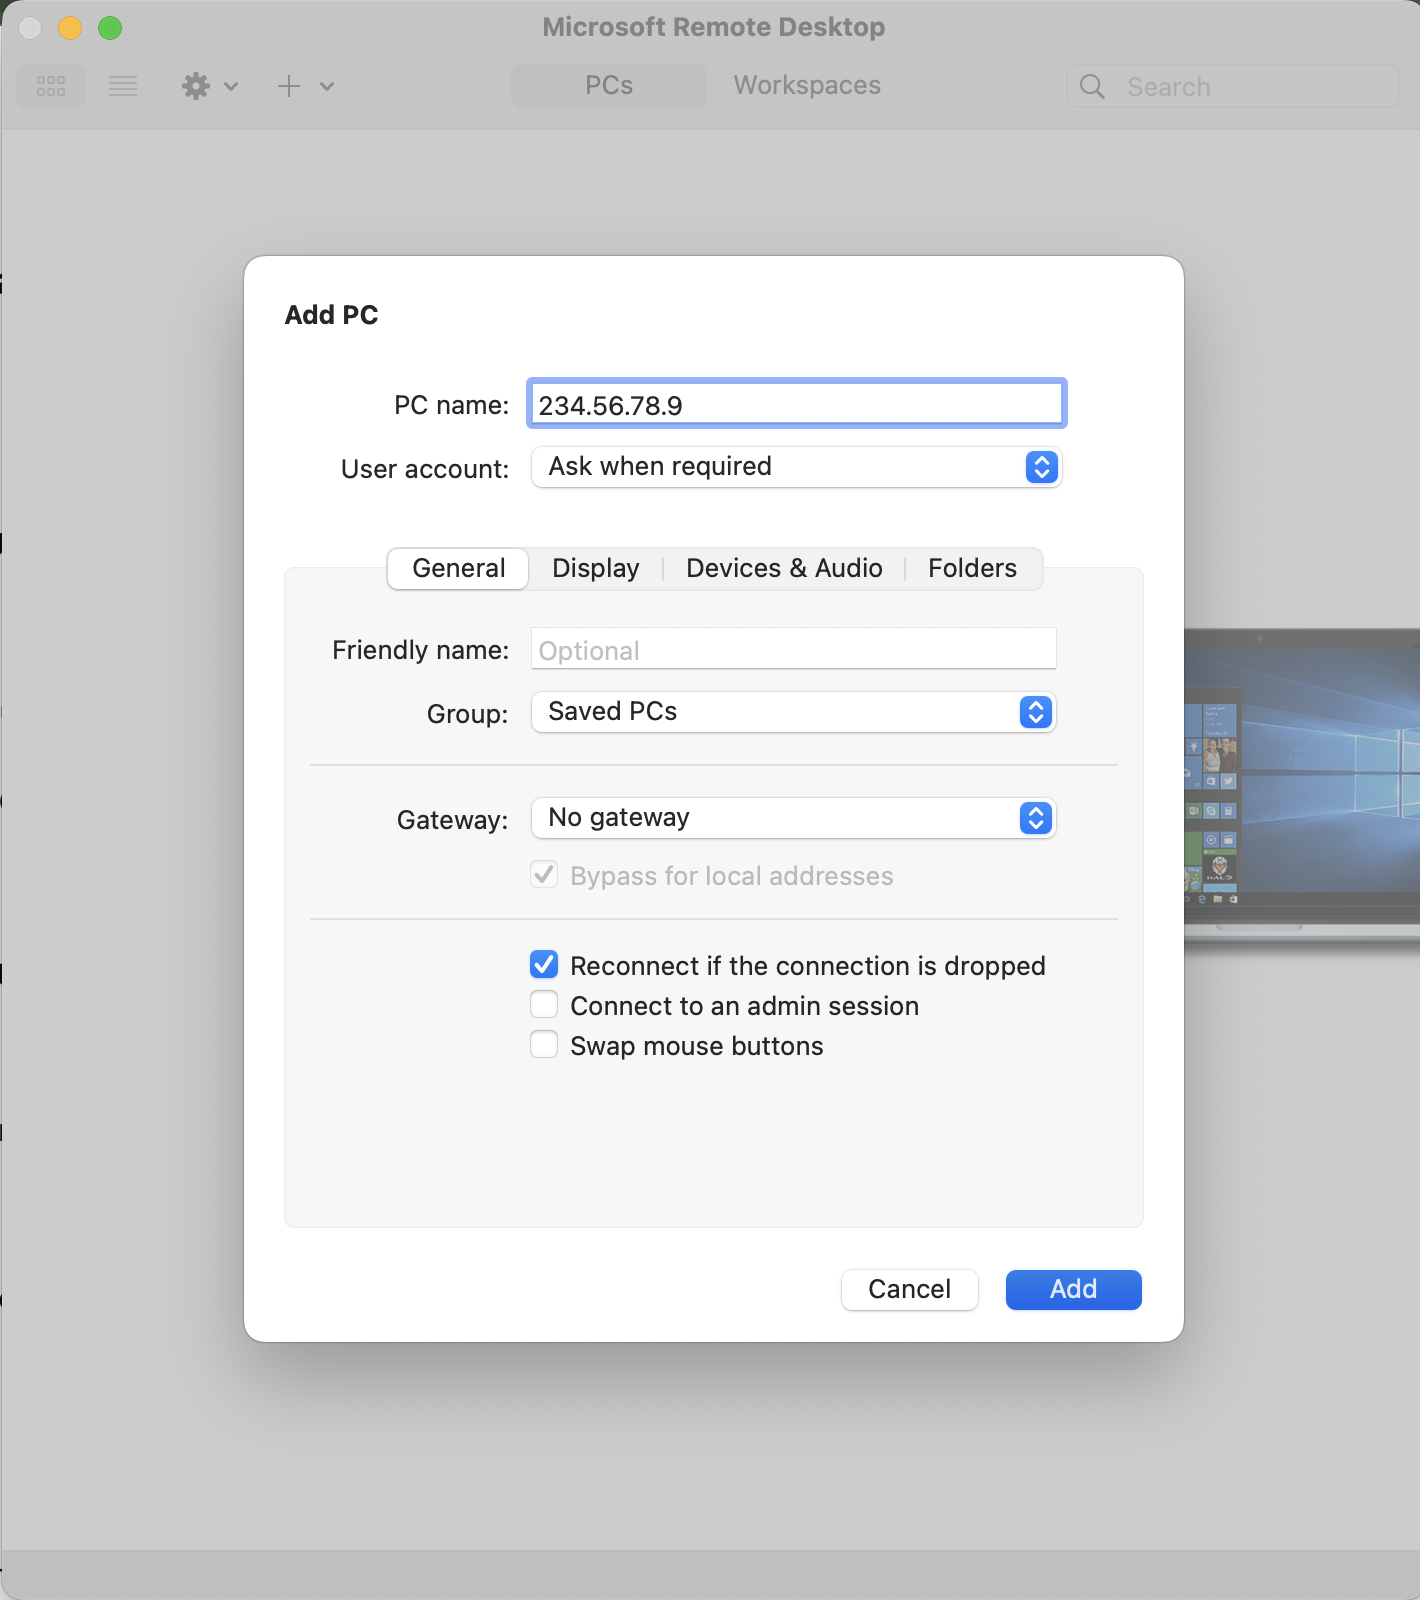
Connecting to a Windows VPS
- Open Remote Desktop Connection on your device.
- Enter your VPS IP address.
- Click Connect.
- Enter the username and password provided in the client portal.
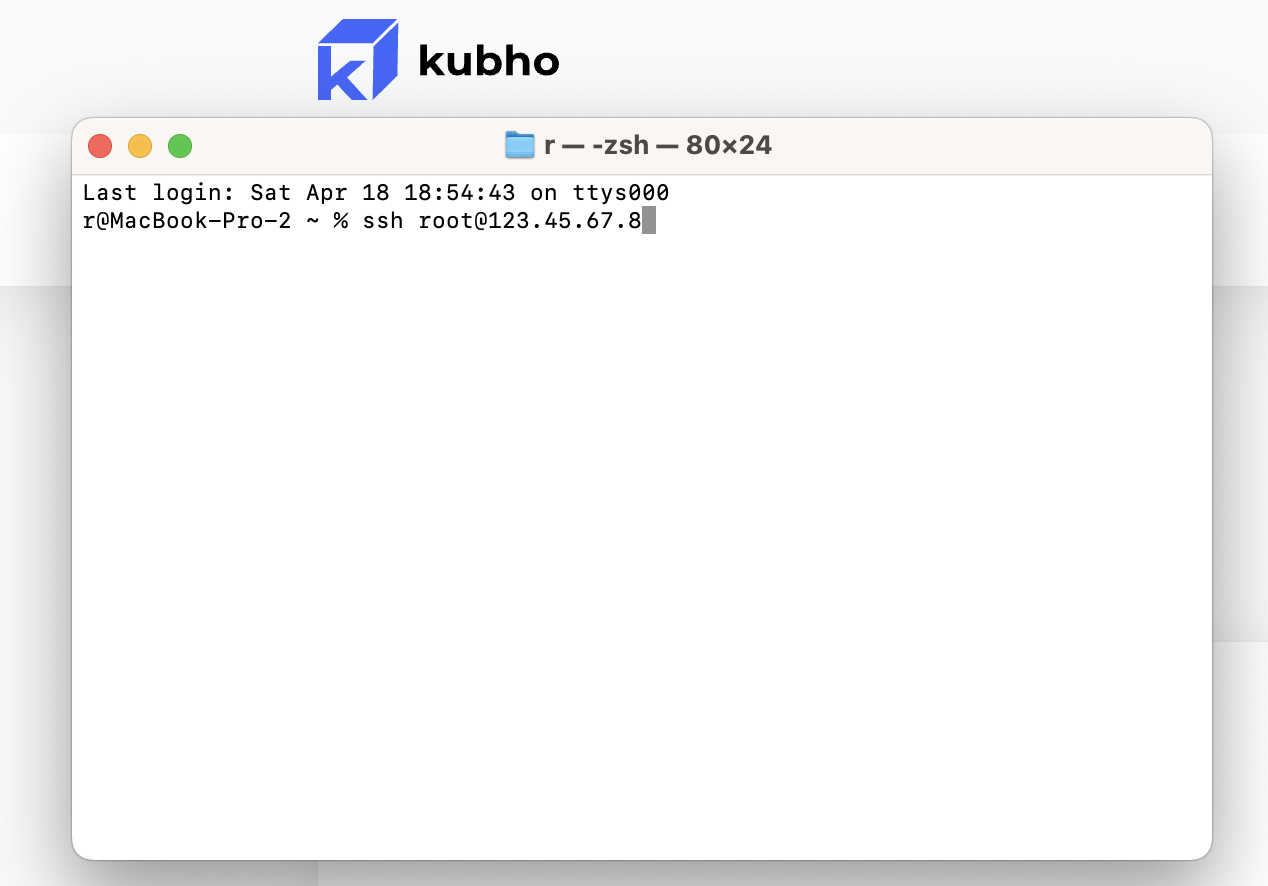
Connecting to a Linux VPS
- Open your preferred SSH client.
- Connect using the following command:
ssh root@YOUR_SERVER_IP- Enter the password provided in the client portal.
Step 5: Verify Your Connection
After connecting successfully, verify that:
- You can access the server desktop or terminal.
- Internet connectivity is working.
- Your server is operating normally.
If you experience any issues, double-check your login credentials and ensure the server is powered on.
Need Help?
If you are unable to access your VPS, please open a support ticket through the client portal. Our support team will be happy to assist you.


